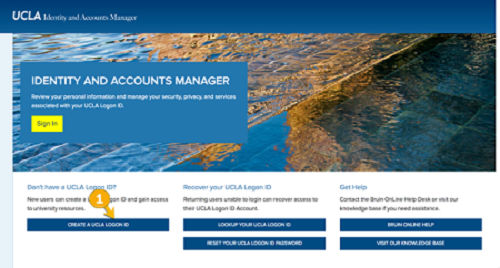
It is easy to create a UCLA Logon ID within the Identity and Accounts Manager “Welcome” screen. If you need help, contact the IT Support Center.
1. Click Create a UCLA Logon ID.
2. The next screen will show you the terms of service, which provide important information regarding policies, procedures, and responsibilities. This page explains how the University uses your personal information, as well as your responsibility in using the system. You must agree to the terms before receiving access to our services.
- Check the box that says I agree to the Terms of Service.
- Click I agree to the terms of use to get started.
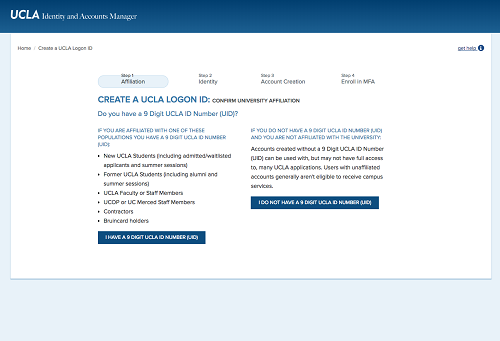
3. Confirm your university affiliation. If you have a UCLA ID Number (UID), you should always use it to create a UCLA Logon ID. This ensures that you will have access to all of our online services.
Click I have a UID.
If you do not have a UID, skip to the section titled Create a UCLA Logon ID without a UID for instructions.
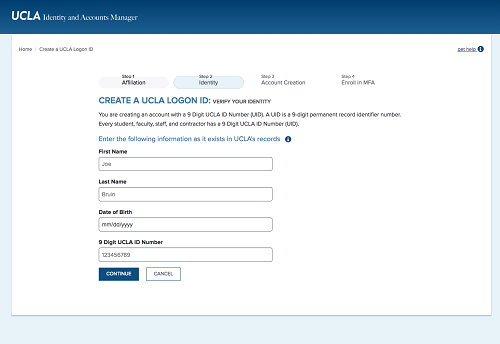
4. Verify your identity:
- Enter your First Name.
- Enter your Last Name.
- Enter your Date of Birth (DOB).
- Enter your UCLA Identification Number (UID).
- Click Continue.
5. On the next screen, create your account:
- Enter your desired UCLA Logon ID.
- Confirm your desired UCLA Logon ID.
- Enter your password.
- Confirm your password.
- Select a Challenge Question.
- Type your response to the question.
- Click Create UCLA Logon ID.
6. Review your logon details on the next screen, and click “CONFIRM.” Make sure that the UCLA Logon is exactly what you want. Once it is created, you will not be able to change it.
7. Next, you will be asked to enroll in multi-factor authentication (MFA). If you are a UCLA employee, you are encouraged to click "enroll" and follow the steps that are outlined in "How to Enroll in MFA."